 Download Once in a While
Before I start, I'd like to thank my design team buddy, Sheri, (see this image on her card here) for the nice advertisement and tell you what equipment I'm working on. My software is Microsoft Office 2007, my computer is a Dell Inspiron 9300 laptop and my printer is an Epson Artisan 50 which loads paper from the back (it really rocks for heavy paper, I use 120 lb cover weight in it all the time). I use Microsoft Word because it's what I used before I retired and I'm very familiar with it. I can't give you instructions with other software because I don't have it on my computer.
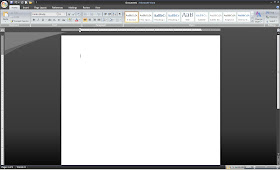 Step 1: Open a new Microsoft Word document.
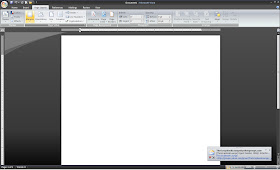 Step 2: Change the margins - click on PAGE LAYOUT - MARGINS.
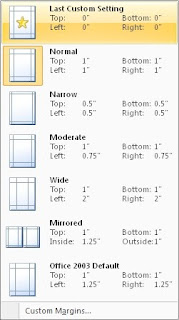 Step 3: Click on CUSTOM MARGINS at the bottom.
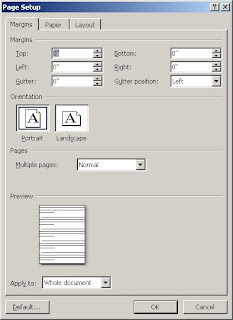 Step 4: Change your margins to 0 in all the boxes above. Some printers will not allow you to do this and will change your zero to the smallest margin allowed by your printer. You will have to be ok with this, you cannot change it.
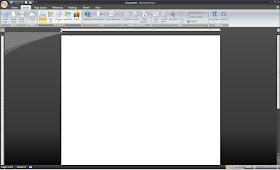 Step 5: Click on INSERT - PICTURE.
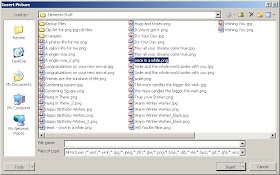 Step 6: Find the file you wish to print. In this case, the file is in my Elements Stuff folder and is called: "Once in a While.png". Either double click on this file name or click on INSERT.
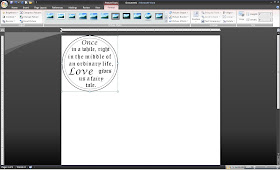 Step 7: Your image should appear in the upper left hand corner of your document as close to the edge as your printer will allow.
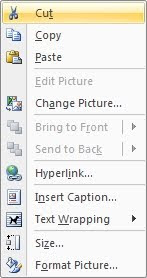 Step 8: Right click on your image, select TEXT WRAPPING.
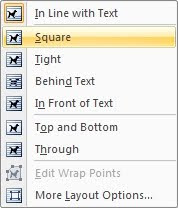 Step 9: Select SQUARE.
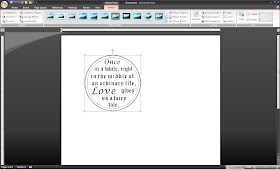 Step 10: Now you are free to move the picture anywhere on the page you'd like it to be. Do not move it by the corner handles, this will resize it. Your cursor should turn into something like a snowflake when you place it in the middle of your picture, left click and slide your cursor while holding your mouse button down. Let up on your mouse button when you are happy about the placement of your photograph. Move your file away from the border closer to the center of your file.
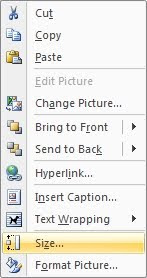 Step 11: Right click on your picture and select SIZE.
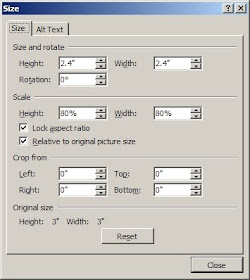 Step 12: Change the height and width of your picture to match the size of the image you want to print. If you'd like a 1 inch sentiment, change them to 1. Keep the "Lock Aspect Ratio" and "Relative to original picture size" boxes checked and click CLOSE.
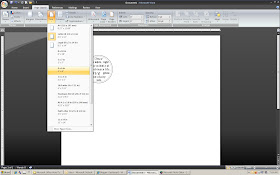 Step 13: You need to change the page size of your file. Click outside of your photograph to 'deselect' the photo - all the handles should go away. Click on PAGE LAYOUT - SIZE - 4 X 6.
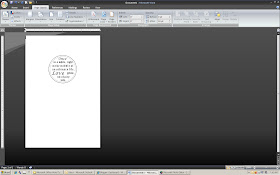 Step 14: Your file page should have gotten much smaller. Even though I checked 4x6, my paper size is actually 4.25 x 5.5. You can use white cardstock or any color or design paper. Your printer should have a slide on it that allows you to change the paper size from 8.5 x 11 to something smaller. Refer to your printer instructions for that. I added my 4.25 x 5.5 white cardstock into my printer tray and moved the slide over until it was snug against the edge of my cardstock. If you plan to print several sentiments at one time, go back to Step 5 and INSERT another picture. You can print as many sentiments as you can fit on the page without running into the printer margins. Practice on a piece of text weight printer paper if you are unsure about the margins.
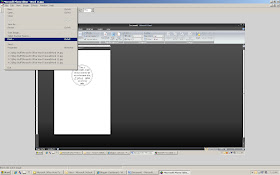 Step 15: Click on the Microsoft element in the upper left hand corner of the screen and select PRINT.
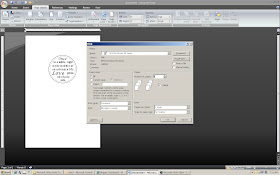 Step 16: When your printer window opens, select PROPERTIES.
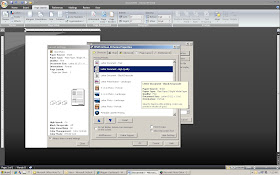 Step 17: You will need to change your printer quality to PHOTO or better.
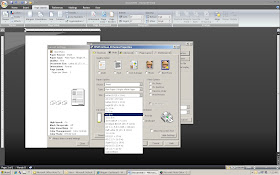 Step 18: Select your paper size at 4x6 to match your file size.
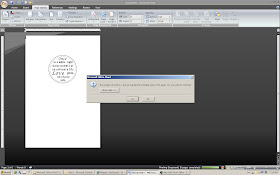 Step 19: Your printer may tell you that your margins are outside of the printable area. That will not be a concern if your picture is in the center of your paper. Click on OK. Your sentiment should print out. You may need to adjust the placement of your pictures, if so, go back and do that. If you are happy with the placement of your picture, click on the Microsoft element in the upper left hand corner, click on SAVE AS. When the window opens save it as a template so you can use it again (i.e. Template_4x6.docx). You can call this template up when you want to print sentiments again, just delete the picture and insert a new one, all the settings will remain the same. You will need to reset your printer however, every time you print, because it will pick up settings from other documents or files that you print. I hope this helps you with printing digital backgrounds and sentiments. Please feel free to e-mail me with questions, I'll help if I can.
Thanks for the freebie! :)
ReplyDelete